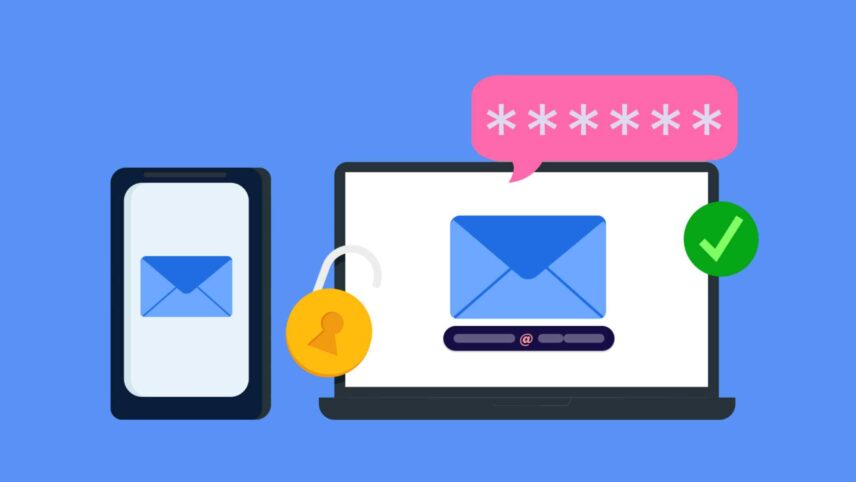
A recovery email is crucial for protecting your online accounts. If you ever forget your password, get locked out, or detect suspicious activity, a recovery email allows you to reset your credentials and regain access safely. In this guide, we’ll show you how to add a recovery email to major platforms like Google, Microsoft, and Apple.
Why You Need a Recovery Email
Password Reset: Easily recover your account if you forget your password.
Security Alerts: Get notified about unauthorized login attempts.
Backup Access: If your main email is compromised, you can still recover your account.
How to Add a Recovery Email to Your Google Account
Go to Google Account Settings
- Visit Google Account and sign in.
Navigate to Security Settings
- Click on “Security” in the left-hand menu.
Find “Recovery Email”
- Scroll down to the “Ways we can verify it’s you” section.
- Click “Recovery email” and enter your backup email address.
Verify Your Email
- Google will send a verification code to your recovery email.
- Open your backup email inbox, find the code, and enter it in Google’s prompt.
Save Changes
- Once verified, your recovery email is set up successfully.
How to Add a Recovery Email to Your Microsoft Account
Go to Microsoft Security Settings
- Visit Microsoft Security and log in.
Access Security Info
- Click “Update info” under Security settings.
Add a Recovery Email
- Click “Add a new way to sign in or verify”.
- Choose “Email” and enter your backup email address.
Verify the Email
- Microsoft will send a verification code to your backup email.
- Enter the code in the security settings page to confirm.
Save Changes
- Your recovery email is now linked to your Microsoft account.
How to Add a Recovery Email to Your Apple ID
Go to Apple ID Settings
- Visit Apple ID and log in.
Navigate to Security Settings
- Click “Sign-In & Security” > “Account Security”.
Add a Recovery Email
- Click “Add a recovery email” and enter your email address.
Verify Your Email
- Apple will send a confirmation code.
- Enter it to verify and activate the recovery email.
Save Settings
- Your recovery email is now linked to your Apple account.
Best Practices for Choosing a Recovery Email
Use a different email provider than your main email for added security.
Enable two-factor authentication (2FA) on your recovery email.
Regularly update and verify your recovery email address.
Never share your recovery email with unknown sources.
Final Thoughts
Adding a recovery email strengthens your account security and ensures that you can regain access if something goes wrong. Take a few minutes to update your recovery email on Google, Microsoft, and Apple to stay protected.
Have you updated your recovery email recently? Let us know in the comments!