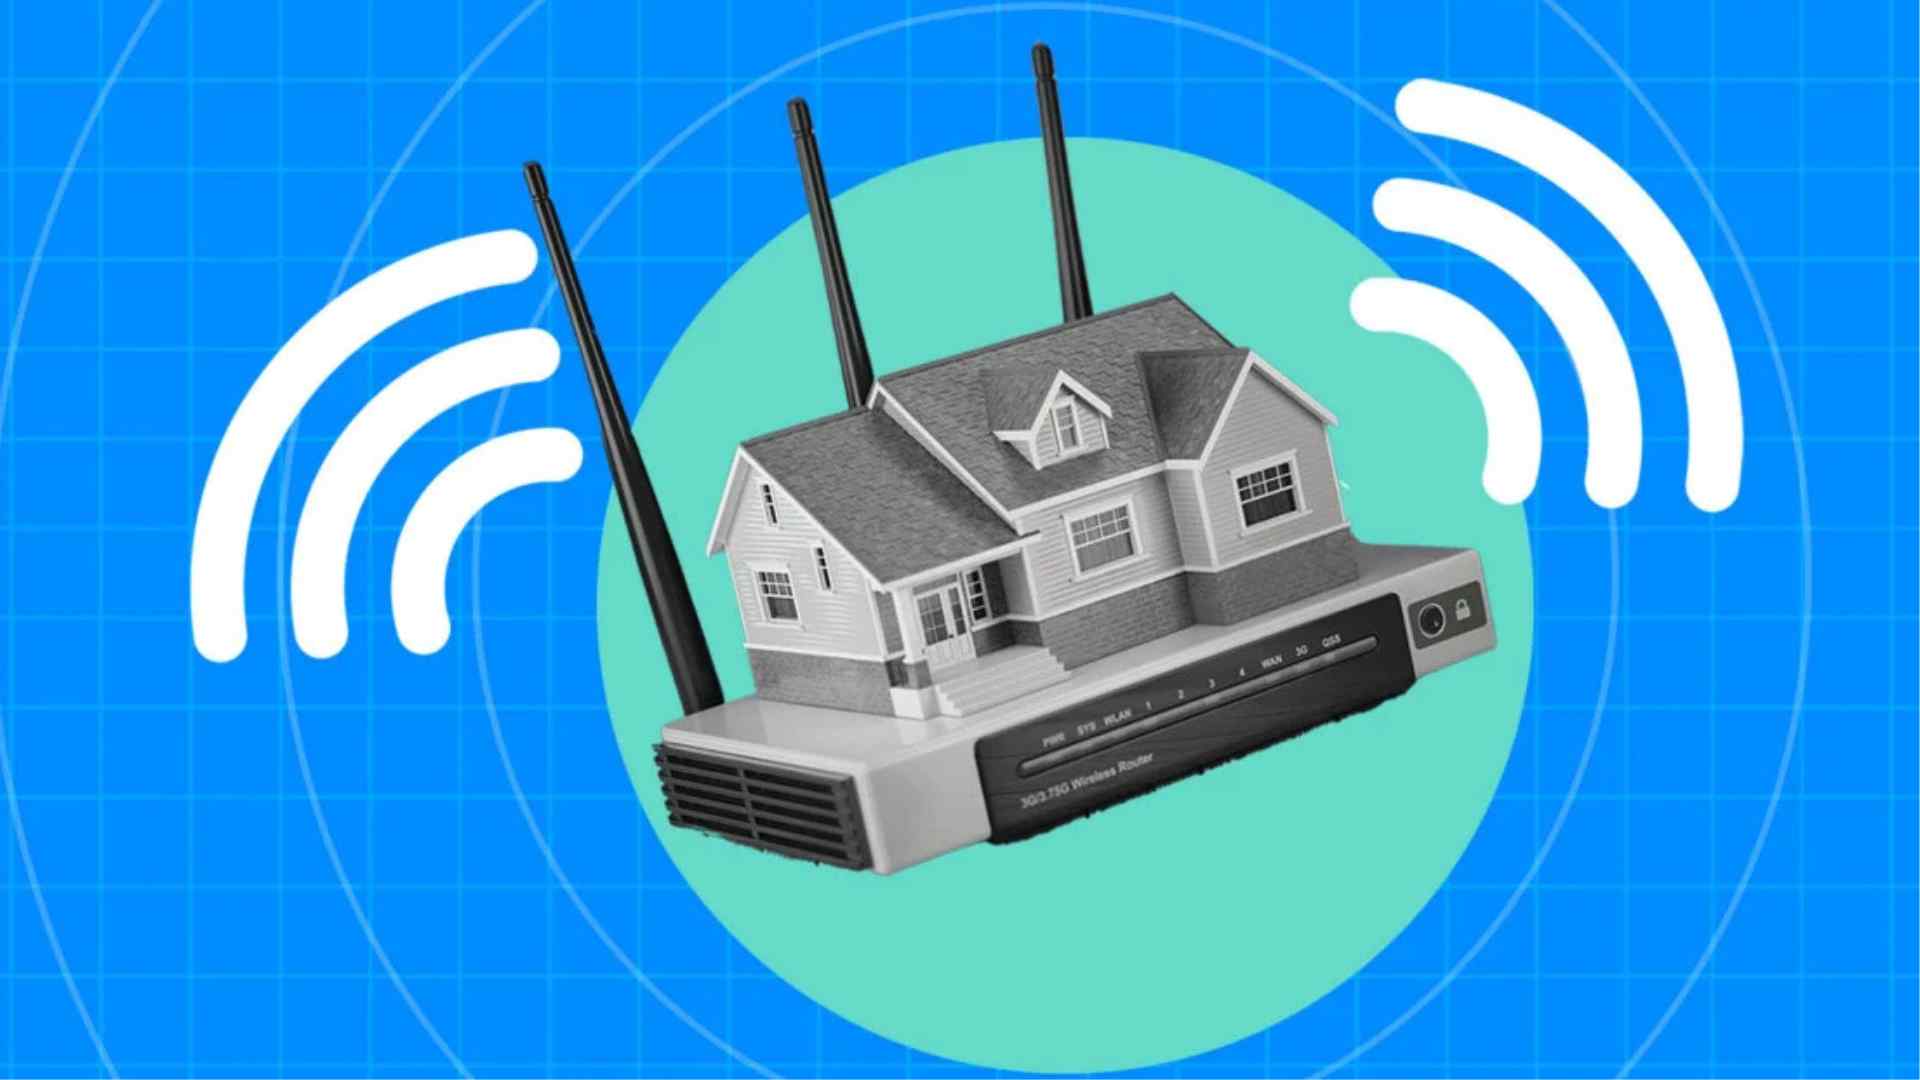
A guest network is a great way to provide internet access to visitors without exposing your main Wi-Fi network and personal devices. It helps improve security, privacy, and network performance.
This guide will walk you through why a guest network is important, how to enable it, and how to secure it properly.
1. Why Should You Enable a Guest Network?
🔹 Protects Your Main Network – Keeps guests from accessing your personal devices.
🔹 Prevents Unauthorized Access – Guests can’t tamper with your router settings.
🔹 Limits Bandwidth Usage – Control how much bandwidth guests can use.
🔹 Enhances Security – Stops malware-infected devices from spreading threats to your main network.
Without a guest network, visitors using your main Wi-Fi could potentially access your smart devices, shared files, or sensitive data.
2. How to Enable a Guest Network on Your Router
Step 1: Access Your Router Settings
To enable a guest network, you first need to log in to your router:
✅ Find Your Router’s IP Address:
- Windows: Open Command Prompt and type:
ipconfigLook for Default Gateway (e.g., 192.168.1.1).
- Mac: Open Terminal and type:
netstat -nr | grep default - Check Router Label: Some routers print login details on the back.
✅ Log in to the Router:
- Open a web browser and enter your router’s IP (e.g.,
192.168.1.1). - Enter the admin username and password (default credentials or set by you).
Step 2: Locate the Guest Network Settings
Once logged in, find the Guest Network or Guest Wi-Fi option.
Common Locations in Router Settings:
- Netgear: Advanced > Guest Network
- TP-Link: Wireless > Guest Network
- Asus: Guest Network tab
- Linksys: Wireless > Guest Access
🔹 If you can’t find it, check your router’s manual or visit the manufacturer’s website.
Step 3: Configure Your Guest Network
Enable the Guest Wi-Fi option and adjust the following settings:
✅ Set a Network Name (SSID)
Choose a name that differentiates it from your main network, e.g., “Home_Guest_WiFi”.
✅ Create a Strong Password
Avoid open networks. Use WPA2 or WPA3 encryption for security.
✅ Set Bandwidth Limits (Optional)
Restrict guest devices from consuming too much data.
✅ Disable Guest-to-Guest Communication
Prevents guest devices from seeing each other on the network.
✅ Block Access to Local Network
Stops guests from accessing your printers, NAS, or smart home devices.
✅ Schedule Guest Network (Optional)
Some routers let you turn the guest network on/off at specific times.
Step 4: Save & Test the Guest Network
- Click Save or Apply Changes in your router settings.
- Connect a device to the new guest network.
- Test internet access and ensure it’s separate from your main Wi-Fi.
3. Best Practices for Securing Your Guest Network
🔹 Use a Different Password from Your Main Network.
🔹 Enable WPA3 or WPA2 Security.
🔹 Disable File & Device Sharing for Guests.
🔹 Set an Expiry Time (if your router supports it).
🔹 Regularly Change the Guest Wi-Fi Password.
4. Final Thoughts
Setting up a guest network is an essential step in improving Wi-Fi security and privacy. It keeps your personal devices safe while providing secure internet access for visitors.
💡 Take action today! Enable a guest network on your router and protect your main network from potential risks.