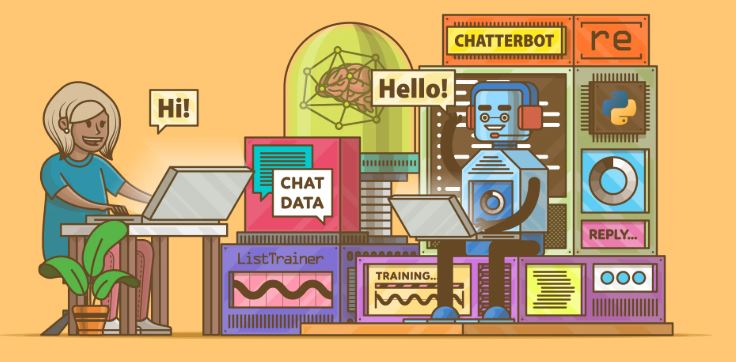
Chatbots are revolutionizing customer support, automation, and user engagement. Whether you want to build a simple chatbot or an AI-powered virtual assistant, Python provides powerful libraries like NLTK, ChatterBot, and OpenAI’s GPT models.
In this guide, we’ll walk you through how to create a chatbot in Python from scratch. 🚀
Quick Navigation
1. What is a Chatbot?
A chatbot is a software application that simulates human-like conversations through text or voice commands.
🔹 Types of Chatbots:
- Rule-Based Chatbots – Follow predefined scripts and responses.
- AI-Powered Chatbots – Use Machine Learning (ML) & Natural Language Processing (NLP) to improve over time.
💡 Example:
- Simple Chatbot → Answers FAQs based on a fixed database.
- AI Chatbot → Understands context, learns from interactions, and improves responses.

How to Make a Chatbot Using Python – A Step-by-Step Guide
2. Prerequisites for Building a Python Chatbot
To build a chatbot in Python, you’ll need:
✅ Python 3.x installed (Download here)
✅ Libraries: NLTK, ChatterBot, ChatterBotCorpus, Flask (for web-based chatbot)
✅ Text Data for Training (for AI-based chatbots)
📌 Install Required Libraries:
3. Creating a Basic Rule-Based Chatbot
A rule-based chatbot follows predefined patterns and answers accordingly.
Step 1: Import Required Libraries
🔹 How It Works:
- The chatbot is trained on predefined conversations in the
chatterbot_corpus. - It uses pattern matching to respond to user queries.
- Type
"exit"to stop the chatbot.
4. Building an AI-Based Chatbot with NLP
To build an AI chatbot, we’ll use NLTK (Natural Language Toolkit) for processing and understanding text.
Step 1: Import Necessary Modules
🔹 How It Works:
- Uses regular expressions to match user input.
- Responses are stored in predefined pairs.
- The chatbot interacts with users based on input patterns.
5. Enhancing the Chatbot with OpenAI GPT-3.5 / GPT-4
For advanced conversational AI, use OpenAI’s GPT model.
📌 Install OpenAI’s Library:
📌 Example Code Using GPT API:
💡 Why Use GPT?
- Understands context better than rule-based models.
- Generates human-like responses without predefined scripts.
- Can be fine-tuned on specific datasets for better accuracy.
🚨 Note: OpenAI’s API requires an API key and charges for usage.
6. Deploying the Chatbot as a Web Application
To make the chatbot accessible online, use Flask.
📌 Install Flask:
📌 Simple Flask Chatbot Server:
📌 Test the API (Using CURL or Postman):
🔹 Flask allows integrating the chatbot into a website or app using APIs.
7. Summary – Building Your Chatbot
🚀 Key Steps to Make a Chatbot in Python:
✅ Install Python & required libraries (NLTK, ChatterBot, OpenAI API)
✅ Create a rule-based chatbot using ChatterBot or NLTK.
✅ Develop an AI-powered chatbot with GPT-4.
✅ Deploy the chatbot as a web API using Flask.
✅ Test & improve using machine learning techniques.
🔹 Final Tip: Keep refining the chatbot by training it on domain-specific data for better responses.


